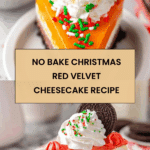
No Bake Christmas Red Velvet Cheesecake Recipe
Introduction
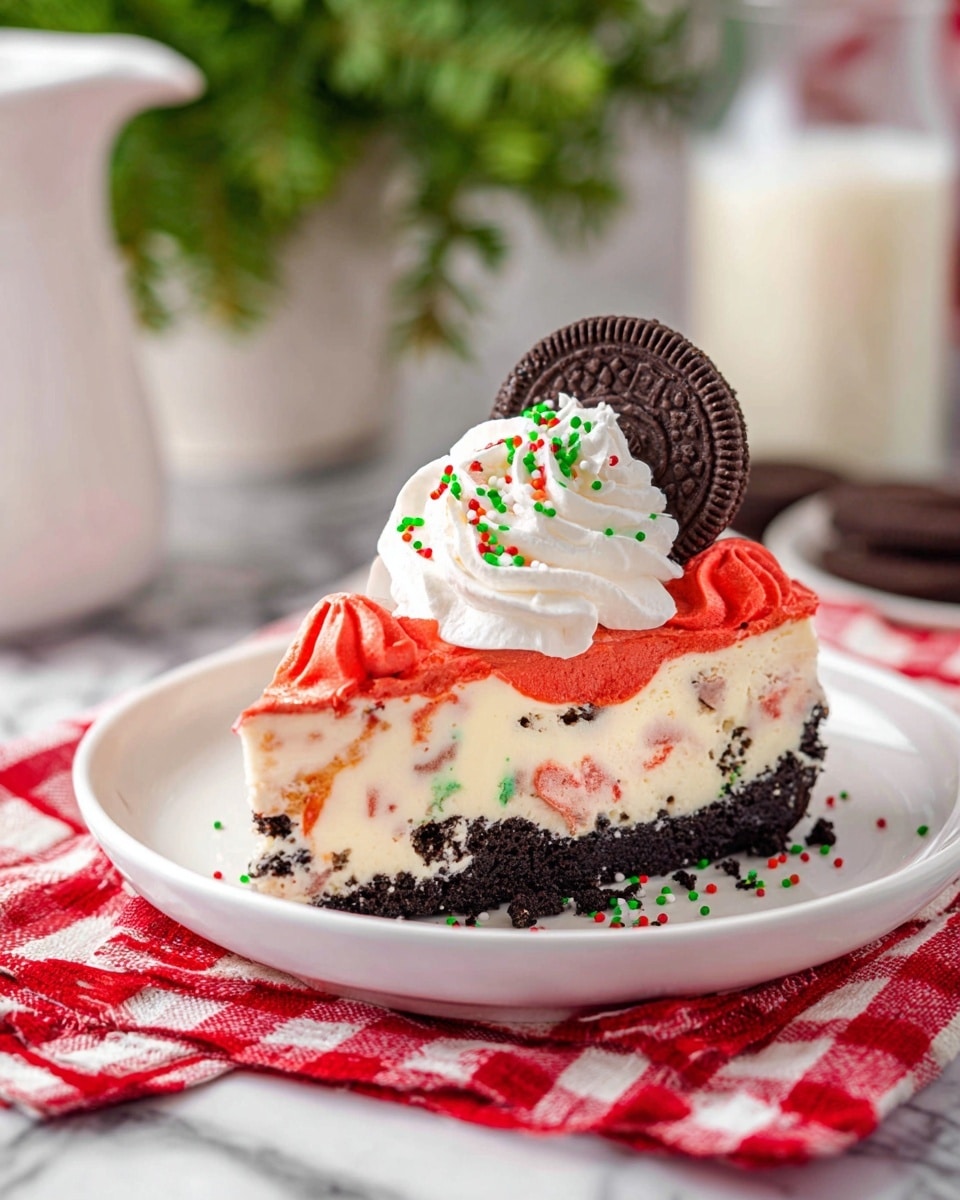
This No Bake Christmas Red Velvet Cheesecake combines the rich flavors of red velvet with the creamy, light texture of a mousse-like cheesecake. It’s a festive, visually stunning dessert that’s simple to prepare and perfect for holiday gatherings.
Ingredients
- 24 Oreo cookies (about 2 cups crumbs)
- ⅓ cup butter (melted)
- 4 8-ounce blocks cream cheese, softened to room temperature
- ½ cup white sugar
- 2 cups heavy whipping cream
- 1 teaspoon vanilla extract
- 2 tablespoons cocoa powder
- Red food coloring (as needed for desired shade)
- ¼ cup Christmas sprinkles (for the white batter)
- Whipped cream (for topping)
- Mini Oreos (for topping)
- Extra Christmas sprinkles (for topping)
Instructions
- Step 1: Make the crust by adding the Oreo cookies, including the cream filling, to a food processor and pulsing until fine crumbs form. Stir in the melted butter until the crumbs are evenly coated. Press the mixture firmly into the bottom of an 8–9-inch springform pan and refrigerate while preparing the filling.
- Step 2: In a large chilled mixing bowl, whip the heavy cream until stiff peaks form. Set aside for folding into the cheesecake base later.
- Step 3: In another bowl, beat the softened cream cheese with the sugar until smooth and creamy. Add the vanilla extract and mix until fully combined. Gently fold the whipped cream into the cream cheese mixture until fluffy.
- Step 4: Divide the cheesecake mixture evenly into two bowls. In one bowl, mix in the cocoa powder and red food coloring until you achieve your desired red velvet color. In the other bowl, gently fold in the Christmas sprinkles.
- Step 5: Remove the crust from the fridge. Alternate spoonfuls of the red velvet mixture and the sprinkle-filled mixture on top of the crust. Use a butter knife or skewer to swirl the two batters together, creating a marbled effect.
- Step 6: Cover the pan and refrigerate for at least 4 hours, or preferably overnight, until the cheesecake is firm and set.
- Step 7: Before serving, decorate the cheesecake with whipped cream, mini Oreos, and extra Christmas sprinkles. Slice and enjoy!
Tips & Variations
- For a deeper red color, add red food coloring gradually until you reach your preferred shade.
- Use crushed peppermint candies instead of sprinkles for a refreshing twist and added crunch.
- If you don’t have a springform pan, use a regular cake pan lined with parchment paper for easier removal.
Storage
Store the cheesecake covered in the refrigerator for up to 3 days. To serve, bring it to room temperature for about 15 minutes for the best texture. This cheesecake is not suitable for freezing as it may affect the creamy texture.
How to Serve
Serve this delicious recipe with your favorite sides.
FAQs
Can I substitute Oreo cookies with another type of cookie?
Yes, you can use chocolate wafer cookies or graham crackers for the crust, though the flavor profile will change slightly.
Do I have to use red food coloring?
The red food coloring gives the cheesecake its classic red velvet appearance, but you can skip it or use natural alternatives like beet juice if preferred.
PrintNo Bake Christmas Red Velvet Cheesecake Recipe

This No Bake Christmas Red Velvet Cheesecake is a festive and creamy dessert perfect for holiday celebrations. Featuring a crunchy Oreo cookie crust and a silky smooth red velvet cheesecake filling, it’s beautifully marbled with vibrant red and white batters, decorated with sprinkles and mini Oreos, and requires no baking—just chilling.
- Prep Time: 20 minutes
- Cook Time: 0 minutes
- Total Time: 4 hours 20 minutes
- Yield: 12 servings 1x
- Category: Dessert
- Method: No-Cook
- Cuisine: American
- Diet: Vegetarian
Ingredients
Crust
- 24 Oreo cookies (about 2 cups crumbs)
- ⅓ cup butter, melted
Cheesecake Filling
- 4 (8-ounce) blocks cream cheese, softened to room temperature
- ½ cup white sugar
- 2 cups heavy whipping cream
- 1 teaspoon vanilla extract
- 2 tablespoons cocoa powder
- Red food coloring, as needed for desired shade
- ¼ cup Christmas sprinkles (for the white batter)
Decorations
- Whipped cream
- Mini Oreos
- Extra Christmas sprinkles
Instructions
- Make the crust: Add the Oreo cookies (cream and all) to a food processor and pulse until fine crumbs form. Stir the crumbs with melted butter until evenly coated, then press this mixture firmly into the bottom of an 8–9-inch springform pan. Chill in the refrigerator while preparing the filling.
- Whip the cream: In a large chilled mixing bowl, beat the heavy whipping cream until stiff peaks form. Set aside; this whipped cream will provide the cheesecake’s light, mousse-like texture.
- Mix the cheesecake base: In another bowl, beat the softened cream cheese and white sugar until smooth and creamy. Add vanilla extract and mix until silky. Gently fold the whipped cream into the cream cheese mixture until fluffy and well combined.
- Create the colors: Divide the cheesecake mixture evenly into two bowls. In one bowl, mix in cocoa powder and red food coloring until it achieves the desired red velvet shade. In the other bowl, fold in Christmas sprinkles for a festive touch.
- Assemble the cheesecake: Remove the crust from the fridge and alternate spoonfuls of the red velvet and sprinkle-filled batters on top. Use a butter knife or skewer to gently swirl the two mixtures together, creating a beautiful marbled effect.
- Chill: Cover the pan and refrigerate for at least 4 hours, or preferably overnight, until the cheesecake is firm and set.
- Decorate and serve: Just before serving, top the cheesecake with whipped cream, mini Oreos, and a generous sprinkle of Christmas sprinkles. Slice and enjoy your festive dessert.
Notes
- For best results, ensure the cream cheese is fully softened to room temperature before mixing to avoid lumps.
- Chilling the mixing bowl for whipping cream helps achieve stiffer peaks more easily.
- You can adjust the amount of red food coloring to get your preferred red velvet shade.
- This cheesecake is best prepared a day ahead to allow it to set properly.
- Store any leftovers in the refrigerator, covered, for up to 3 days.
Keywords: No bake cheesecake, red velvet cheesecake, Christmas dessert, Oreo crust cheesecake, festive cheesecake, holiday desserts, easy cheesecake no bake