No-Bake Biscoff Cheesecake Cups Recipe
Introduction
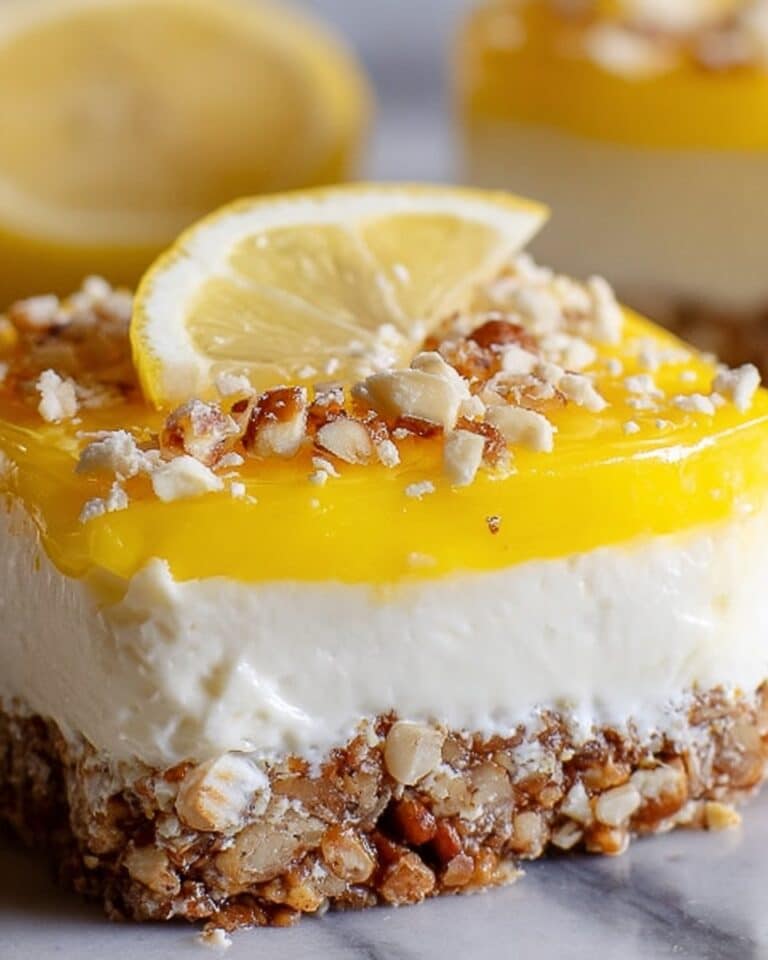
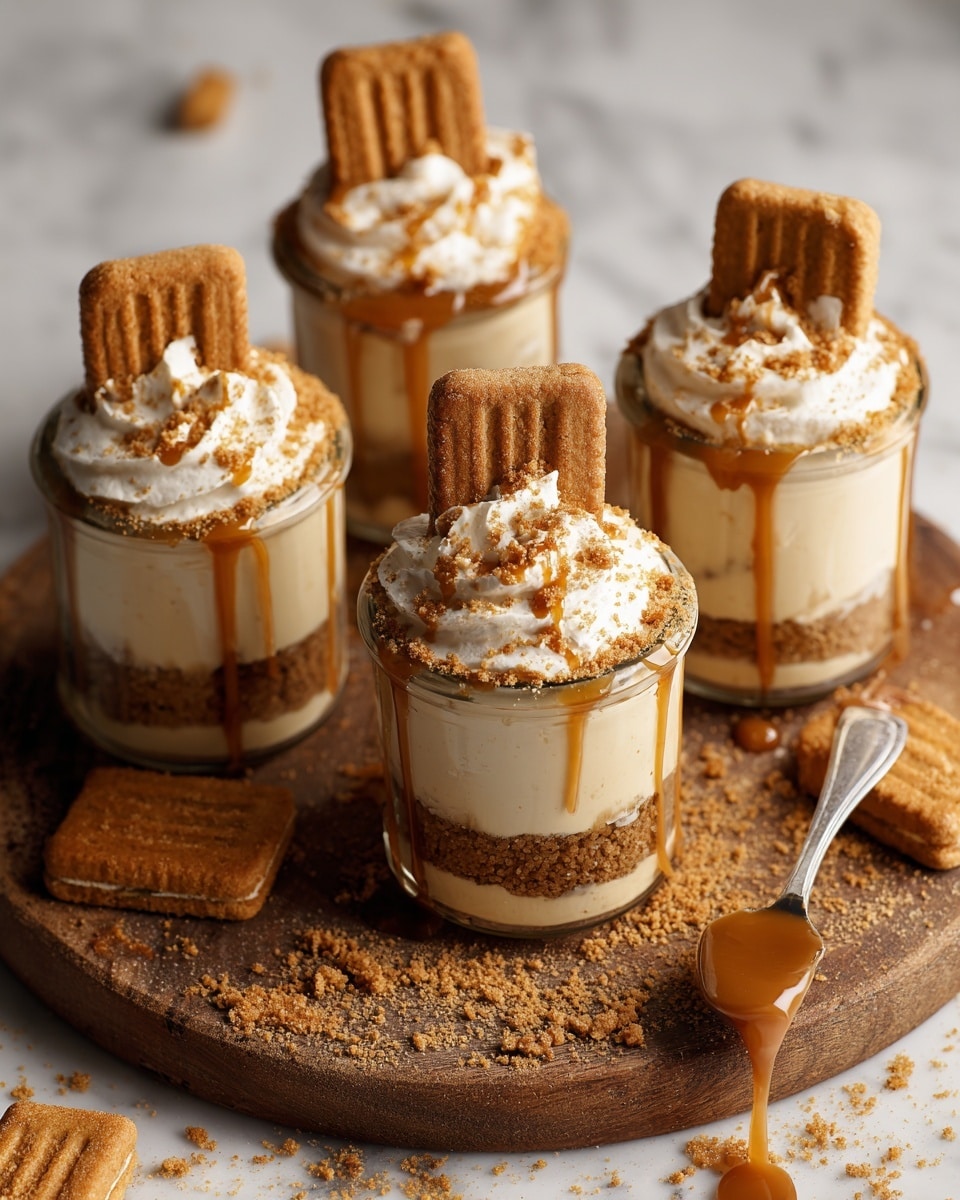
This No-Bake Biscoff Cheesecake Cups recipe is a delightful, creamy dessert perfect for any occasion. With a crunchy Biscoff crust and luscious cookie butter filling, these individual cups are easy to prepare and sure to impress.
Ingredients
- About 30 Lotus Biscoff biscuits
- 2 tablespoons unsalted butter, melted
- 16 oz (2 cups) heavy cream
- 8 oz cream cheese, at room temperature
- ½ cup powdered sugar
- ½ cup Biscoff (cookie butter) spread, plus extra for topping
- 1 teaspoon vanilla extract
- Garnish: halved Biscoff cookies and reserved cookie crumbs
Instructions
- Step 1: Crush the Lotus Biscoff biscuits into fine crumbs using a food processor or by placing them in a sealed bag and rolling a rolling pin over them. Mix the crumbs with melted butter, setting aside a few tablespoons of the mixture for decoration.
- Step 2: Press about 2–3 tablespoons of the crust mixture firmly into the bottom of each dessert cup or glass. Set the cups aside while you prepare the filling.
- Step 3: In a large bowl, whip the heavy cream until stiff peaks form. This will give your cheesecake filling a light, airy texture.
- Step 4: In another bowl, beat together the cream cheese, powdered sugar, Biscoff spread, and vanilla extract until the mixture is smooth and creamy.
- Step 5: Gently fold the whipped cream into the cream cheese mixture until fully incorporated, being careful to keep the mixture light and fluffy.
- Step 6: Transfer the cheesecake filling into a piping bag and pipe it evenly into each prepared cup over the crust layer.
- Step 7: Melt about ½ cup of Biscoff spread in the microwave until it becomes pourable. Carefully layer the melted spread over the cheesecake filling in each cup.
- Step 8: Garnish each cup with halved Biscoff cookies and sprinkle reserved cookie crumbs on top for an appealing finish.
- Step 9: Refrigerate the cheesecake cups for at least 4 hours or overnight to allow them to set properly. Serve chilled for the best flavor and texture.
Tips & Variations
- For an extra crunch, add chopped nuts to the crust mixture.
- Use a hand mixer or stand mixer for whipping the cream quickly and efficiently.
- Swap vanilla extract for almond extract for a nutty twist.
- Try layering raspberry or strawberry jam between the crust and filling for a fruity surprise.
Storage
Store the cheesecake cups covered in the refrigerator for up to 3 days. Keep them chilled until ready to serve. If needed, let them sit at room temperature for about 10 minutes before enjoying to soften slightly, but do not leave out for long to maintain freshness.
How to Serve
Serve this delicious recipe with your favorite sides.
FAQs
Can I use regular cream cheese instead of room temperature?
It’s best to use cream cheese at room temperature so it blends smoothly without lumps. Cold cream cheese can make the filling uneven and harder to mix.
Can I make these cups ahead of time?
Yes, these cheesecake cups benefit from being made ahead. Refrigerate them for at least 4 hours or overnight to allow the flavors to meld and the dessert to set perfectly.
PrintNo-Bake Biscoff Cheesecake Cups Recipe
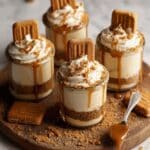
Indulge in these delightful No-Bake Biscoff Cheesecake Cups, a creamy, luscious dessert combining the distinct caramelized flavor of Lotus Biscoff biscuits with rich cream cheese and whipped cream. Perfect for an easy-to-make, elegant treat that requires no oven time, these cups are layered with a buttery biscuit crust, smooth Biscoff-infused cheesecake filling, and a glossy cookie butter topping garnished with halved Biscoff cookies and crumbs.
- Prep Time: 20 minutes
- Cook Time: 0 minutes
- Total Time: 4 hours 20 minutes (including chilling time)
- Yield: 6–8 cheesecake cups 1x
- Category: Dessert
- Method: No-Cook
- Cuisine: American/European Fusion
- Diet: Vegetarian
Ingredients
Crust
- About 30 Lotus Biscoff biscuits
- 2 tablespoons unsalted butter, melted
Cheesecake Filling
- 16 oz (2 cups) heavy cream
- 8 oz cream cheese, at room temperature
- ½ cup powdered sugar
- ½ cup Biscoff (cookie butter) spread, plus extra for topping
- 1 teaspoon vanilla extract
Garnish
- Halved Biscoff cookies
- Reserved cookie crumbs
Instructions
- Prepare the crust: Crush the Lotus Biscoff biscuits into fine crumbs using a food processor or a rolling pin. Mix the crumbs thoroughly with the melted unsalted butter. Reserve a few tablespoons of this crumb mixture for decoration later.
- Form the crust base: Press approximately 2–3 tablespoons of the crust mixture firmly into the bottom of each dessert cup or glass. Set the cups aside while you prepare the filling.
- Whip the heavy cream: In a clean bowl, whip the heavy cream until it reaches stiff peaks, ensuring it holds firm when the whisk is lifted.
- Make the cheesecake filling: In a separate bowl, beat together the room temperature cream cheese, powdered sugar, Biscoff spread, and vanilla extract until the mixture is smooth and creamy. Gently fold the whipped cream into this mixture until fully incorporated and light.
- Assemble the cheesecake cups: Transfer the cheesecake filling into a piping bag (or spoon directly) and fill each prepared cup over the crust layer evenly.
- Add the Biscoff topping: Melt about ½ cup of Biscoff spread in the microwave until pourable. Carefully layer this melted spread over the cheesecake filling within each cup.
- Garnish and chill: Top each cup with halved Biscoff cookies and sprinkle with the reserved cookie crumbs for added texture and visual appeal. Refrigerate the cups for at least 4 hours, or preferably overnight, to allow the cheesecake filling to set properly.
- Serve: Serve the No-Bake Biscoff Cheesecake Cups chilled as a decadent and effortless dessert.
Notes
- You can substitute the heavy cream with whipping cream of similar fat content.
- For easier piping, chill the cheesecake filling slightly if too soft before transferring to the piping bag.
- Ensure cream cheese is at room temperature for a smooth, lump-free filling.
- Store leftovers covered in the refrigerator for up to 3 days.
- Optionally, decorate with additional caramel sauce or crushed nuts for variety.
Keywords: No-Bake Cheesecake, Biscoff Cheesecake, Lotus Biscuit Dessert, Easy Cheesecake Cups, No Oven Dessert, Cream Cheese Dessert