Mini Protein Cheesecakes with Lemon Zest and Berries Recipe
Introduction
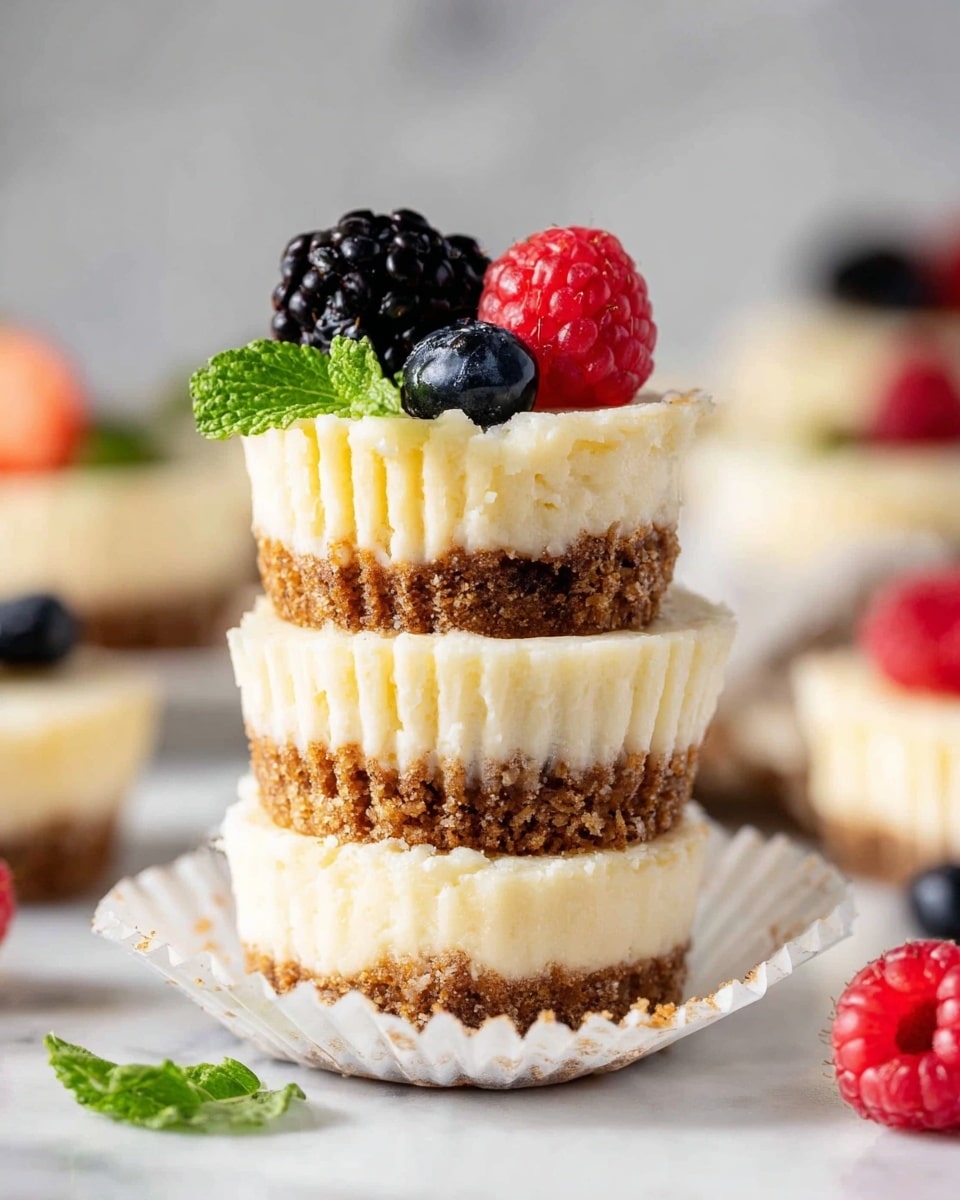
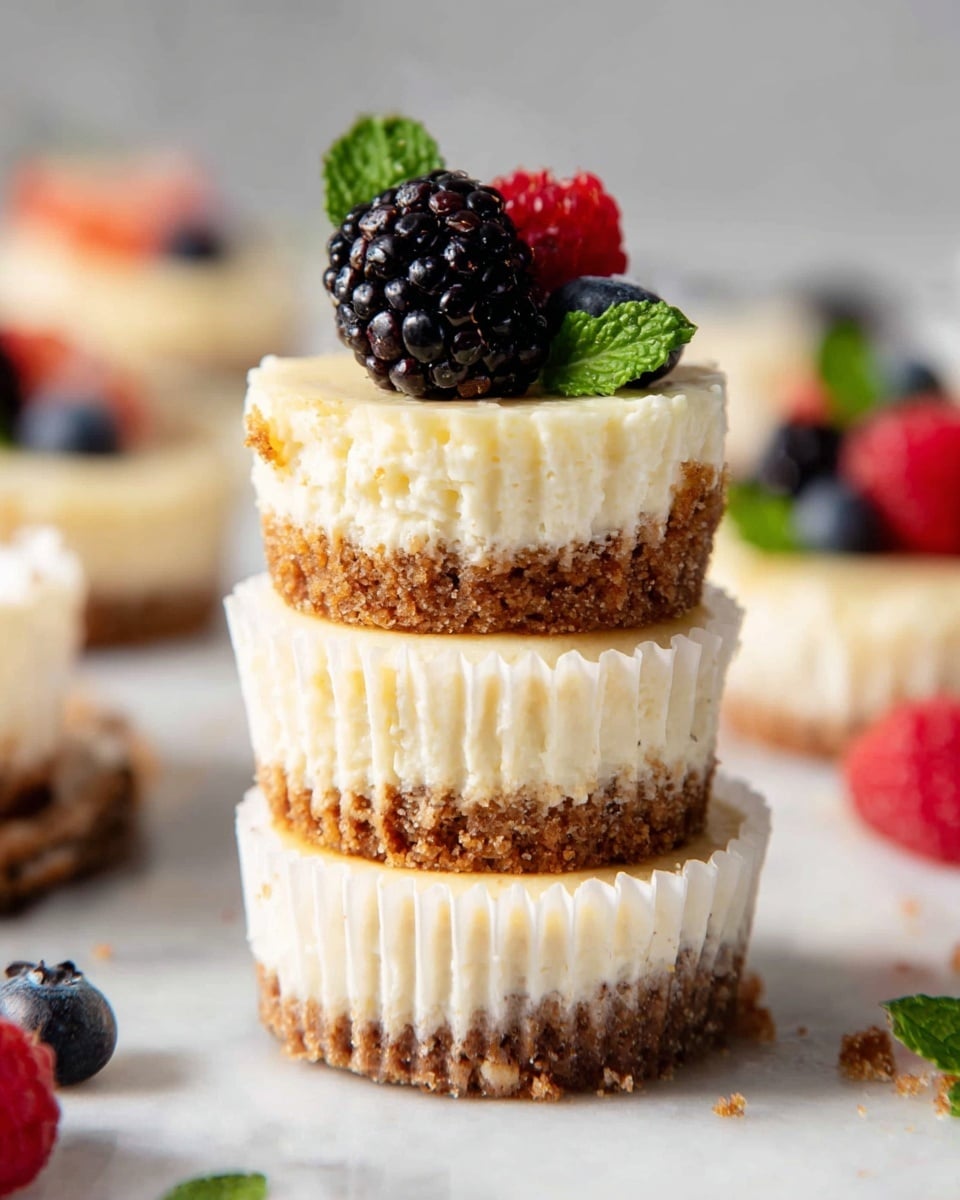
These Mini Protein Cheesecakes are a delightful treat that combines creamy texture with a hint of lemon and a crunchy graham cracker crust. Perfectly portioned in cupcake liners, they make a healthy dessert or snack that’s easy to enjoy anytime.
Ingredients
- 1 ½ cups graham cracker crumbs (gluten-free if needed, about 10 sheets)
- 5 Tbsp salted butter (melted)
- 8 oz cream cheese (room temperature, regular or low fat)
- ¾ cup plain 0% Greek yogurt (room temperature)
- ⅓ cup granulated sugar
- 1 egg + 1 yolk
- 1 tsp vanilla extract
- 2 tsp lemon juice
- ¼ – ½ tsp lemon zest (optional for a lemony flavor)
- 1 Tbsp arrowroot starch or cornstarch
Instructions
- Step 1: Preheat your oven to 350°F and line a cupcake tin with 12 liners.
- Step 2: Add the graham crackers to a food processor and pulse until they become crumbs. Mix in the melted butter by pulsing again. Alternatively, place crackers in a plastic bag and crush with a rolling pin, then combine with melted butter in a bowl.
- Step 3: Divide the crumb mixture evenly among the muffin liners, about 1.5 tablespoons each. Press the crumbs firmly into the bottom to form a crust.
- Step 4: Bake the crusts for 5 to 6 minutes. Remove from the oven and let cool for 5 to 10 minutes while preparing the filling.
- Step 5: In a large mixing bowl, beat the cream cheese with a handheld mixer until smooth.
- Step 6: Add Greek yogurt, egg, egg yolk, sugar, vanilla extract, lemon juice, lemon zest, and arrowroot starch. Mix on the lowest setting just until smooth, about 30 to 60 seconds. Avoid overbeating.
- Step 7: Pour the filling evenly into the muffin liners on top of the crusts. Bake for 17 to 20 minutes, until the filling is set and no longer jiggles or looks wet.
- Step 8: Let the cheesecakes cool at room temperature for 30 minutes, then transfer to the refrigerator to chill for at least 3 hours.
- Step 9: Before serving, top each mini cheesecake with fresh berries and small mint leaves. Enjoy!
Tips & Variations
- Use gluten-free graham crackers to make this recipe gluten-free.
- For a richer filling, substitute some of the Greek yogurt with sour cream.
- Try adding a tablespoon of honey or maple syrup instead of granulated sugar for natural sweetness.
- If you don’t have arrowroot starch, cornstarch works just as well as a thickener.
- To make mini cheesecakes in different flavors, add chocolate chips, swirl in fruit preserves, or use different citrus zest.
Storage
Store the mini cheesecakes in an airtight container in the refrigerator for up to 4 days. They can also be frozen for up to 1 month; thaw in the refrigerator overnight before serving. Reheat is generally not recommended, but let them come to room temperature for best flavor and texture after chilling.
How to Serve
Serve this delicious recipe with your favorite sides.
FAQs
Can I make these cheesecakes dairy-free?
You can substitute the cream cheese and Greek yogurt with their dairy-free alternatives, such as plant-based cream cheese and coconut yogurt, but note that the texture and flavor may slightly differ.
Can I prepare these mini cheesecakes ahead of time?
Yes, they can be made a day in advance and stored in the refrigerator. Just add any fresh toppings like berries or mint leaves right before serving for the best presentation and freshness.
PrintMini Protein Cheesecakes with Lemon Zest and Berries Recipe

These Mini Protein Cheesecakes are a delightful, high-protein dessert option featuring a buttery graham cracker crust and a creamy filling made with cream cheese, Greek yogurt, and eggs. Lightly sweetened and infused with vanilla and lemon, these individual cheesecakes are baked to perfection and chilled for a refreshing finish, making for a perfect guilt-free treat.
- Prep Time: 15 minutes
- Cook Time: 25 minutes
- Total Time: 3 hours 40 minutes
- Yield: 12 mini cheesecakes 1x
- Category: Dessert
- Method: Baking
- Cuisine: American
- Diet: Low Fat
Ingredients
Crust
- 1 ½ cups graham cracker crumbs (gluten-free if needed, about 10 sheets)
- 5 Tbsp salted butter (melted)
Filling
- 8 oz cream cheese (room temperature, regular or low fat if desired)
- ¾ cup plain 0% Greek yogurt (room temperature)
- ⅓ cup granulated sugar
- 1 egg + 1 egg yolk
- 1 tsp vanilla extract
- 2 tsp lemon juice
- ¼ – ½ tsp lemon zest (optional for lemon flavor)
- 1 Tbsp arrowroot starch or cornstarch
Instructions
- Preheat and Prepare Liners: Preheat your oven to 350°F (175°C) and line a 12-cup cupcake tin with paper liners to prevent sticking and ease removal.
- Make the Crust: Pulse the graham crackers in a food processor until they become fine crumbs. Add the melted butter and pulse again until combined. Alternatively, crush the crackers in a plastic bag with a rolling pin, then mix in melted butter by hand.
- Form the Crusts: Divide the crumb mixture evenly among the cupcake liners, roughly 1.5 tablespoons per liner. Press down firmly with your fingers to flatten and pack the crust into the bottom of each liner to create a sturdy base.
- Bake the Crusts: Bake the crusts for 5 to 6 minutes in the preheated oven. Once done, remove them from the oven and allow them to cool for 5 to 10 minutes as you prepare the filling.
- Prepare the Filling: In a large bowl, beat the cream cheese using a handheld electric mixer until smooth and creamy at room temperature.
- Add Remaining Filling Ingredients: To the cream cheese, add Greek yogurt, egg, egg yolk, sugar, vanilla extract, lemon juice, optional lemon zest, and arrowroot starch or cornstarch. Mix on the lowest mixer setting for 30 to 60 seconds until smooth, taking care not to overbeat.
- Fill the Liners: Evenly distribute the cheesecake filling over the cooled crusts in each cupcake liner.
- Bake the Cheesecakes: Bake for 17 to 20 minutes until the filling has just set — it should look firm without jiggling or wetness on the surface.
- Cool and Chill: Remove the cheesecakes from the oven and let them cool at room temperature for 30 minutes. Then transfer them to the refrigerator and chill for at least 3 hours to fully set and enhance the flavors.
- Serve: Top each mini cheesecake with fresh berries and small mint leaves before serving. Enjoy this protein-packed dessert!
Notes
- For a gluten-free option, use certified gluten-free graham crackers.
- Room temperature ingredients help achieve a smooth filling without lumps.
- Do not overbeat the filling to maintain a creamy texture and avoid incorporating too much air.
- Lemon zest is optional and can be adjusted depending on your preference for lemon flavor.
- Ensure cheesecakes are well chilled for at least 3 hours for best texture and flavor.
- Use a handheld electric mixer or stand mixer for easiest mixing.
Keywords: mini protein cheesecake, healthy cheesecake, low fat dessert, Greek yogurt cheesecake, individual cheesecakes, lemon cheesecake, high protein dessert, gluten free option