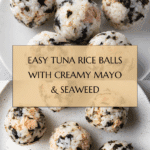
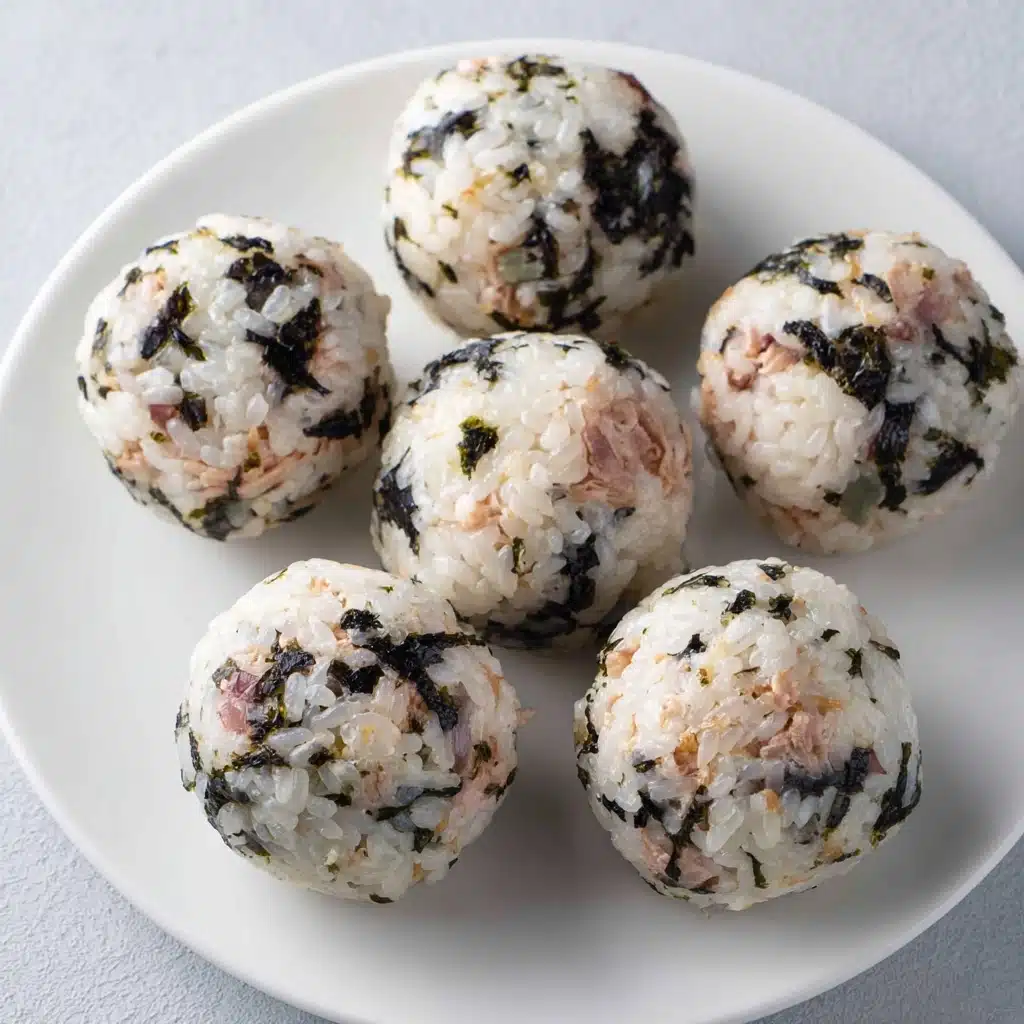
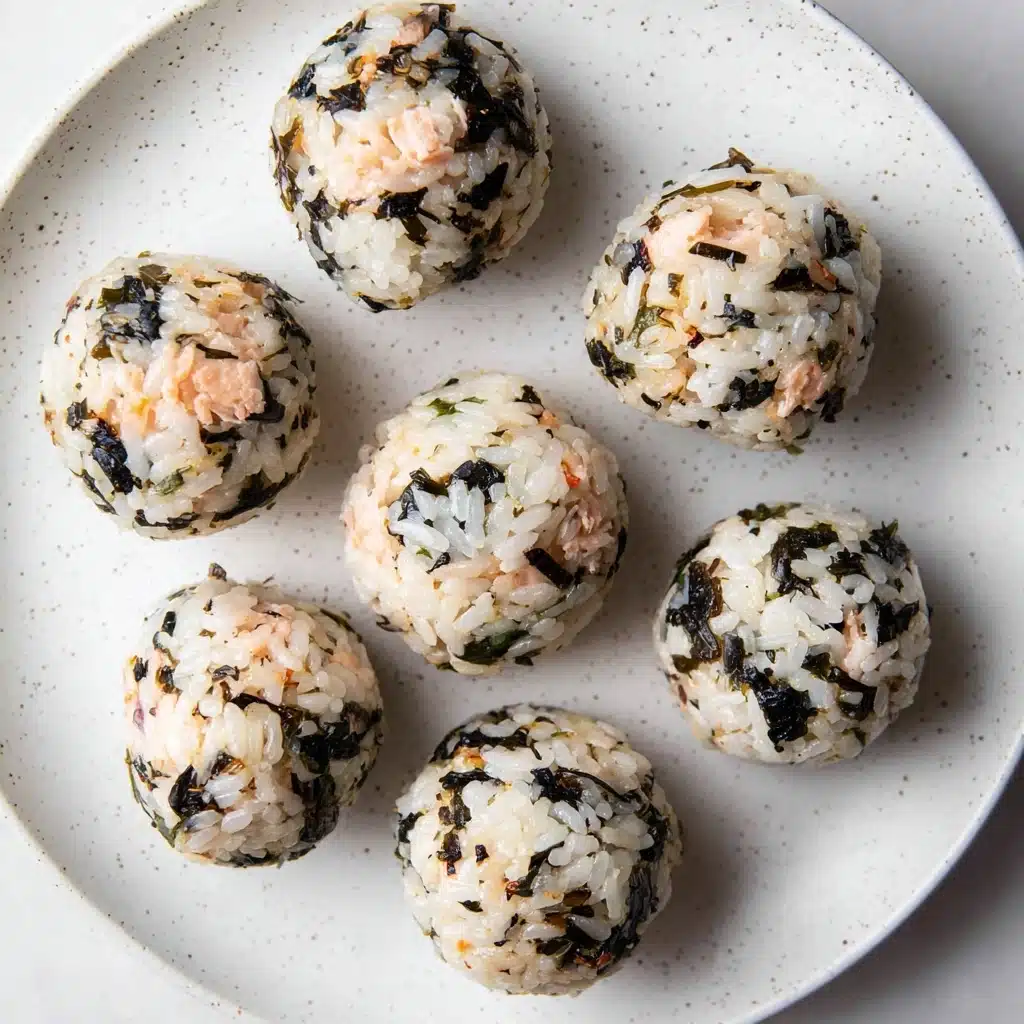
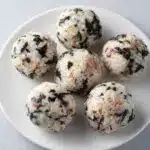
Easy Tuna Rice Balls Recipe
If you are looking for a quick, delicious, and satisfying snack or light meal, these Easy Tuna Rice Balls are a total game-changer. Combining fluffy sushi rice with savory tuna, creamy Japanese mayonnaise, a hint of toasted sesame oil, and the irresistible briny crunch of roasted seaweed, this dish brings together simple ingredients into a flavor-packed morsel that’s perfect anytime. Whether you’re packing a lunchbox or craving a comforting bite, Easy Tuna Rice Balls make it effortless to enjoy incredible taste without any fuss.
Ingredients You’ll Need
Gathering the essentials for these rice balls is a breeze since each component adds something special to this dish—whether it’s flavor, texture, or a touch of color that brightens up the plate. Here’s what you’ll need:
- 2 cups prepared sushi rice: The sticky and slightly sweet base that holds everything together beautifully.
- 150 grams canned tuna: Convenient, protein-packed, and ready to mix in for a savory punch.
- 1 tablespoon sesame oil: Adds a delicate nuttiness that elevates every bite.
- 2-3 tablespoons Japanese mayonnaise (Kewpie style): Creamy and tangy, this mayo brings moisture and richness.
- 1 to 1½ cups torn roasted seaweed: Infuses a mild ocean flavor and a satisfying crisp texture.
How to Make Easy Tuna Rice Balls
Step 1: Combine Ingredients
Start by placing the prepared sushi rice into a large bowl, then add the sesame oil, Japanese mayonnaise, canned tuna, and torn roasted seaweed. Gently but thoroughly mix everything together until the tuna and seaweed are evenly dispersed throughout the creamy rice. If the mixture feels a little dry or not creamy enough to hold its shape, don’t hesitate to add a bit more mayo. This balance creates a luscious texture that makes forming the rice balls so much easier.
Step 2: Shape the Mixture
Press the combined mixture flat in your bowl, creating a smooth surface. Using a spatula, slice the rice mixture into 8 triangular sections, much like you would cut a pizza. This is just a rough guide to help portion the rice for the balls, so you can estimate sizes by feel if you prefer a more freeform approach. This pre-cutting step helps keep your process neat and manageable as you move on to shaping.
Step 3: Form the Rice Balls
With clean hands or gloves, scoop up each triangular portion and gently roll it into a compact ball. Be sure to pack the rice firmly enough so the ball maintains its shape, but don’t compress it so much that it becomes too dense. The goal is a tightly packed but tender rice ball that holds together without falling apart when you pick it up.
Step 4: Serve and Enjoy
Once all your Easy Tuna Rice Balls are shaped, they’re ready to serve right away. Enjoy them fresh to appreciate the perfect balance of texture and flavor. These little bites are fantastic on their own or paired with your favorite dipping sauces or sides. The simplicity of the recipe means you can customize the toppings or sides with ease.
How to Serve Easy Tuna Rice Balls
Garnishes
Elevate your presentation by adding a sprinkle of toasted sesame seeds or a pinch of finely chopped green onions. Thin strips of extra roasted seaweed elegantly arranged on top add visual contrast and a salty crunch that pairs beautifully with the creamy filling. For a touch of color and zest, you can squeeze a little fresh lemon juice or add some pickled ginger on the side.
Side Dishes
Easy Tuna Rice Balls pair wonderfully with light, refreshing sides. Think crisp cucumber salad, edamame beans lightly salted, or even a simple miso soup for a soothing bowl alongside. These sides balance the richness of the tuna rice balls and turn the dish into a well-rounded snack or meal.
Creative Ways to Present
For a more playful approach, arrange your tuna rice balls on a platter with a variety of dipping sauces like soy sauce, spicy mayo, or a drizzle of unagi sauce. You might also place them in individual bento boxes with colorful veggies and pickles for a visually stimulating and portable lunch. Wrapping each ball partially with a small strip of seaweed can add elegance and make them easier to hold and eat.
Make Ahead and Storage
Storing Leftovers
If you happen to have leftover Easy Tuna Rice Balls, store them in an airtight container in the refrigerator for up to 24 hours. Because of the mayo and tuna, it’s best to consume them relatively quickly to enjoy the flavors at their freshest and keep food safety in check.
Freezing
Freezing these rice balls isn’t ideal because the texture of the rice can become crumbly and the tuna mixture watery upon thawing. If you do freeze them, wrap each ball tightly in plastic wrap and place them in a freezer-safe bag, then consume within a month. Thaw slowly in the refrigerator rather than at room temperature.
Reheating
To reheat Easy Tuna Rice Balls, gently warm them covered in the microwave for short intervals to avoid drying out. Alternatively, steaming them briefly can help retain moisture and soften the rice, bringing back some of that freshly made texture.
FAQs
Can I use regular mayonnaise instead of Japanese mayo?
You can substitute regular mayonnaise if needed, but Japanese mayonnaise tends to be slightly sweeter and tangier, which adds a unique creaminess that enhances the flavor of the rice balls. Adjust the quantity to taste.
What type of rice is best for this recipe?
Sushi rice or any short-grain rice works best because it’s sticky enough to hold the mixture together. Long-grain rice usually won’t bind as well, making shaping tricky.
Can I add other ingredients to the tuna mixture?
Definitely! Feel free to mix in chopped scallions, grated ginger, or even a dash of soy sauce to customize the flavor. Just be mindful of moisture levels to keep the rice balls from falling apart.
Are these rice balls suitable for kids?
Yes, the creamy texture and familiar flavors make Easy Tuna Rice Balls a kid-friendly option. Just adjust any added seasonings to keep the taste mild and approachable.
How many rice balls does this recipe make?
This recipe yields about 8 rice balls, making it great for sharing or a light meal. You can easily double the ingredients to make more.
Final Thoughts
I can’t recommend these Easy Tuna Rice Balls enough for anyone craving a fuss-free yet delicious dish that satisfies every time. With just a handful of pantry staples, you can whip up something comforting, flavorful, and perfect for any occasion. Give this recipe a try soon—you might just find your new favorite go-to snack or lunch!
PrintEasy Tuna Rice Balls Recipe
Easy Tuna Rice Balls are a quick and delicious Japanese-inspired snack combining flavorful canned tuna, creamy Japanese mayonnaise, roasted seaweed, and perfectly cooked sushi rice. These compact rice balls are simple to make, satisfying to eat, and great for lunch, picnics, or casual meals.
- Prep Time: 10 minutes
- Cook Time: 0 minutes
- Total Time: 10 minutes
- Yield: 8 rice balls 1x
- Category: Snack
- Method: No-cook assembly
- Cuisine: Japanese
- Diet: Halal
Ingredients
Rice Mixture
- 2 cups prepared sushi rice
- 150 grams canned tuna
- 1 tablespoon sesame oil
- 2–3 tablespoons Japanese mayonnaise (Kewpie style)
- 1 to 1½ cups torn roasted seaweed
Instructions
- Combine Ingredients: In a large bowl, add the prepared sushi rice, sesame oil, Japanese mayonnaise, canned tuna, and torn roasted seaweed. Mix all the ingredients thoroughly until well combined. If the mixture seems dry or lacks creaminess, gradually add more mayonnaise until you achieve the desired consistency.
- Shape the Mixture: Press the combined mixture down flat in the bowl. Using a spatula, cut the rice mixture into 8 triangular portions, similar to slicing a pizza. Alternatively, estimate the amount of rice mixture needed for each ball without precise measuring.
- Form the Rice Balls: With clean hands or gloves, scoop up each portion and gently roll it into a tight ball to ensure it holds its shape firmly. Repeat until all portions are shaped.
- Serve and Enjoy: Serve the tuna rice balls immediately for the best texture and flavor. Enjoy them as a snack or as part of a meal, possibly alongside pickled vegetables or soy sauce for dipping.
Notes
- Be sure the sushi rice is slightly warm or at room temperature for easier mixing and shaping.
- Adjust mayonnaise quantity to your taste for creaminess and moisture.
- Use clean hands or disposable gloves to prevent rice from sticking and to keep the rice balls hygienic.
- Can be stored in an airtight container in the refrigerator for up to 24 hours but is best consumed fresh.
- Optionally add a sprinkle of sesame seeds or chopped green onions for garnish.
Nutrition
- Serving Size: 1 rice ball (approx. 85 grams)
- Calories: 150 kcal
- Sugar: 0.5 g
- Sodium: 300 mg
- Fat: 7 g
- Saturated Fat: 1 g
- Unsaturated Fat: 5 g
- Trans Fat: 0 g
- Carbohydrates: 18 g
- Fiber: 1 g
- Protein: 7 g
- Cholesterol: 20 mg
Keywords: tuna rice balls, onigiri, Japanese snack, sushi rice balls, easy rice balls, tuna snack, no-cook rice balls