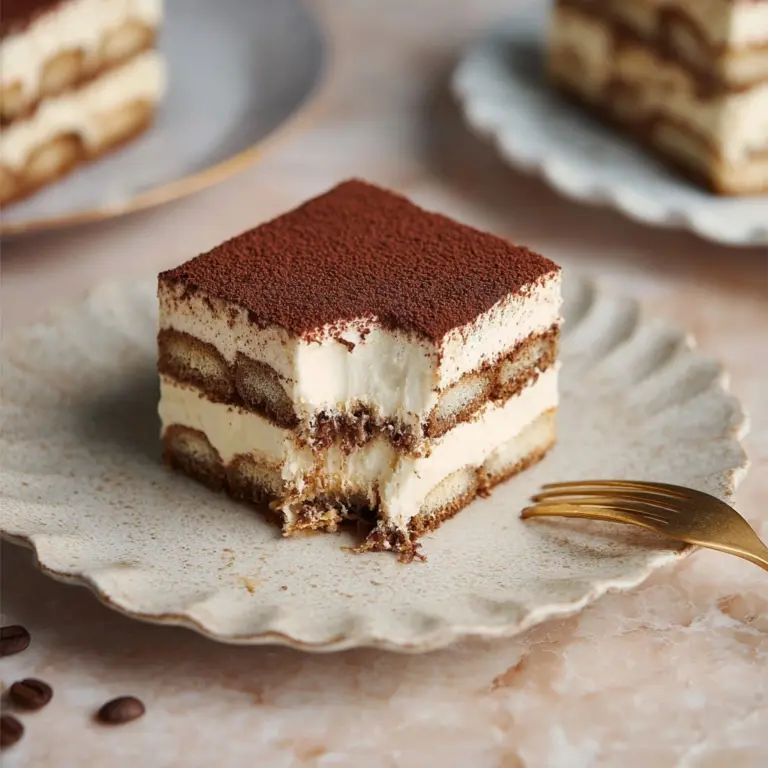
Boston Cream Pie Cookies Recipe
Introduction
These Boston Cream Pie Cookies capture the classic flavors of the beloved dessert in a fun, handheld treat. Soft cookies sandwich a luscious whipped cream filling, all topped with a rich chocolate glaze. They make a perfect dessert for any occasion.

Ingredients
- 1 cup unsalted butter, softened
- 1 cup granulated sugar
- 2 large eggs
- 1 teaspoon vanilla extract
- 2 cups all-purpose flour
- 1 teaspoon baking powder
- 1/2 teaspoon baking soda
- 1/4 teaspoon salt
- 1 cup heavy cream
- 1/2 cup powdered sugar
- 1 teaspoon vanilla extract (for the cream filling)
- 1 cup semi-sweet chocolate chips
- 1 tablespoon vegetable oil
Instructions
- Step 1: In a large mixing bowl, cream together the softened butter and granulated sugar using an electric mixer on medium speed. Beat until the mixture is light and fluffy, about 3-4 minutes.
- Step 2: Add the eggs, one at a time, mixing well after each addition. Stir in the vanilla extract until fully combined.
- Step 3: In a separate bowl, whisk together the all-purpose flour, baking powder, baking soda, and salt. Gradually add this dry mixture to the wet ingredients, mixing on low speed until just combined. Avoid overmixing.
- Step 4: Cover the bowl with plastic wrap and refrigerate for at least 30 minutes.
- Step 5: In a medium bowl, pour the heavy cream and add the powdered sugar and vanilla extract. Using a hand mixer, whip the cream until stiff peaks form, about 3-5 minutes. Avoid overwhipping.
- Step 6: Set the cream filling aside in the refrigerator to keep it cool and firm.
- Step 7: Preheat your oven to 350°F (175°C) and line two baking sheets with parchment paper.
- Step 8: Use a cookie scoop or tablespoon to drop rounded balls of dough onto the prepared baking sheets, spacing them about 2 inches apart.
- Step 9: Bake for 10-12 minutes, or until the edges are lightly golden. The centers may look slightly underbaked.
- Step 10: Allow the cookies to cool on the baking sheets for about 5 minutes before transferring them to a wire rack to cool completely.
- Step 11: In a microwave-safe bowl, combine the semi-sweet chocolate chips and vegetable oil. Microwave in 30-second intervals, stirring in between, until melted and smooth, about 1-2 minutes total.
- Step 12: Let the chocolate cool slightly before glazing the cookies.
- Step 13: Take one cookie and place a generous dollop of the whipped cream filling on the flat side.
- Step 14: Top with another cookie, flat side down, to create a sandwich. Gently press down to spread the filling to the edges.
- Step 15: Repeat with the remaining cookies and cream filling until all are assembled.
- Step 16: Drizzle or dip the assembled cookies in the melted chocolate glaze, allowing any excess to drip off.
- Step 17: Place the glazed cookies on a wire rack to set.
Tips & Variations
- For extra stability, chill the assembled sandwiches before glazing to prevent the cream from oozing out.
- Use dark chocolate instead of semi-sweet for a more intense chocolate flavor.
- Try flavoring the whipped cream with a touch of coffee or almond extract for a unique twist.
Storage
Store the assembled cookies in an airtight container in the refrigerator for up to 3 days. Because of the whipped cream filling, they are best enjoyed fresh and should be kept chilled. Let them sit at room temperature for 10 minutes before serving. You can reheat the cookies gently by removing the chocolate glaze, warming the cookies briefly, then reassembling if desired.
How to Serve

Serve this delicious recipe with your favorite sides.
FAQs
Can I make the cookie dough in advance?
Yes, you can prepare the dough up to 24 hours ahead and keep it refrigerated. This helps develop the flavors and makes shaping easier.
What if I don’t have a hand mixer to whip the cream?
If you don’t have a hand mixer, you can whip the cream by hand using a whisk, but it will take more time and effort. Make sure your cream is very cold to achieve better volume.
PrintBoston Cream Pie Cookies Recipe
Delight in these Boston Cream Pie Cookies that capture the essence of the classic dessert in cookie form. Soft, buttery cookies sandwich a smooth, whipped cream filling, all elegantly dipped in a rich semi-sweet chocolate glaze. Perfectly balanced in flavor and texture, these cookies bring nostalgia and indulgence together in every bite.
- Prep Time: 20 minutes
- Cook Time: 12 minutes
- Total Time: 1 hour 10 minutes
- Yield: 24 assembled cookies 1x
- Category: Dessert
- Method: Baking
- Cuisine: American
Ingredients
Cookie Dough
- 1 cup unsalted butter, softened
- 1 cup granulated sugar
- 2 large eggs
- 1 teaspoon vanilla extract
- 2 cups all-purpose flour
- 1 teaspoon baking powder
- 1/2 teaspoon baking soda
- 1/4 teaspoon salt
Cream Filling
- 1 cup heavy cream
- 1/2 cup powdered sugar
- 1 teaspoon vanilla extract (for the cream filling)
Chocolate Glaze
- 1 cup semi-sweet chocolate chips
- 1 tablespoon vegetable oil
Instructions
- Cream Butter and Sugar: In a large mixing bowl, use an electric mixer on medium speed to cream together the softened butter and granulated sugar until light and fluffy, about 3-4 minutes.
- Add Eggs and Vanilla: Incorporate the eggs one at a time, mixing well after each addition, then stir in the vanilla extract until fully combined.
- Combine Dry Ingredients: In a separate bowl, whisk together all-purpose flour, baking powder, baking soda, and salt. Gradually add this mixture to the wet ingredients on low speed until just combined, being careful not to overmix.
- Chill Dough: Cover the dough with plastic wrap and refrigerate it for at least 30 minutes to firm up for easier handling and better texture.
- Make Cream Filling: In a medium bowl, combine heavy cream, powdered sugar, and vanilla extract. Using a hand mixer, whip until stiff peaks form, approximately 3-5 minutes, ensuring not to overwhip. Refrigerate until ready to assemble.
- Preheat Oven and Prepare Baking Sheets: Heat oven to 350°F (175°C) and line two baking sheets with parchment paper for easy cleanup and even baking.
- Scoop and Bake Cookies: Using a cookie scoop or tablespoon, drop rounded dough balls spaced about 2 inches apart onto prepared sheets. Bake for 10-12 minutes until edges are lightly golden, while centers remain slightly soft.
- Cool Cookies: Let cookies cool on baking sheets for 5 minutes before transferring to a wire rack to cool completely, preventing sogginess.
- Melt Chocolate Glaze: Combine semi-sweet chocolate chips and vegetable oil in a microwave-safe bowl. Microwave in 30-second bursts, stirring between each, until smooth and melted, about 1-2 minutes total.
- Assemble Cookies: On the flat side of one cookie, place a generous dollop of whipped cream filling, then top with a second cookie flat side down, gently pressing to spread filling evenly.
- Glaze Cookies: Drizzle or dip the assembled cookie sandwiches in the melted chocolate glaze, allowing excess to drip off.
- Set and Serve: Place glazed cookies on a wire rack to allow chocolate to set before serving. Enjoy freshly made or store in an airtight container.
Notes
- Ensure the butter is properly softened for easier creaming and a tender cookie texture.
- Do not overmix the dough to avoid tough cookies.
- Chilling the dough is crucial for maintaining cookie shape during baking.
- When whipping cream, stop once stiff peaks form to prevent turning it into butter.
- The cookies can be stored in an airtight container at room temperature for up to 3 days, or refrigerated to keep the cream filling fresh.
- For a richer chocolate glaze, use high-quality semi-sweet chocolate chips.
Keywords: Boston Cream Pie Cookies, chocolate filled cookies, whipped cream filling cookies, dessert cookies, sandwich cookies


