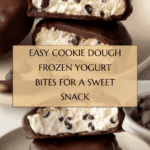
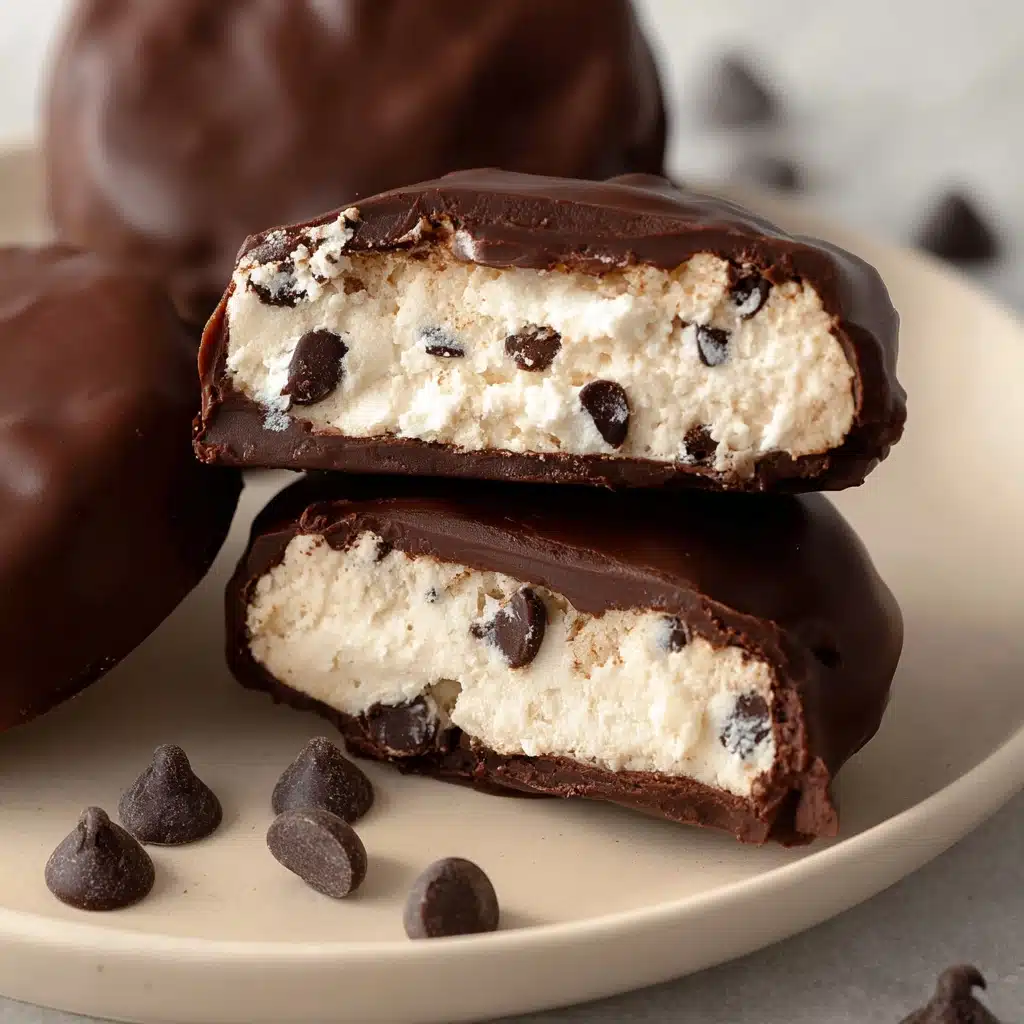
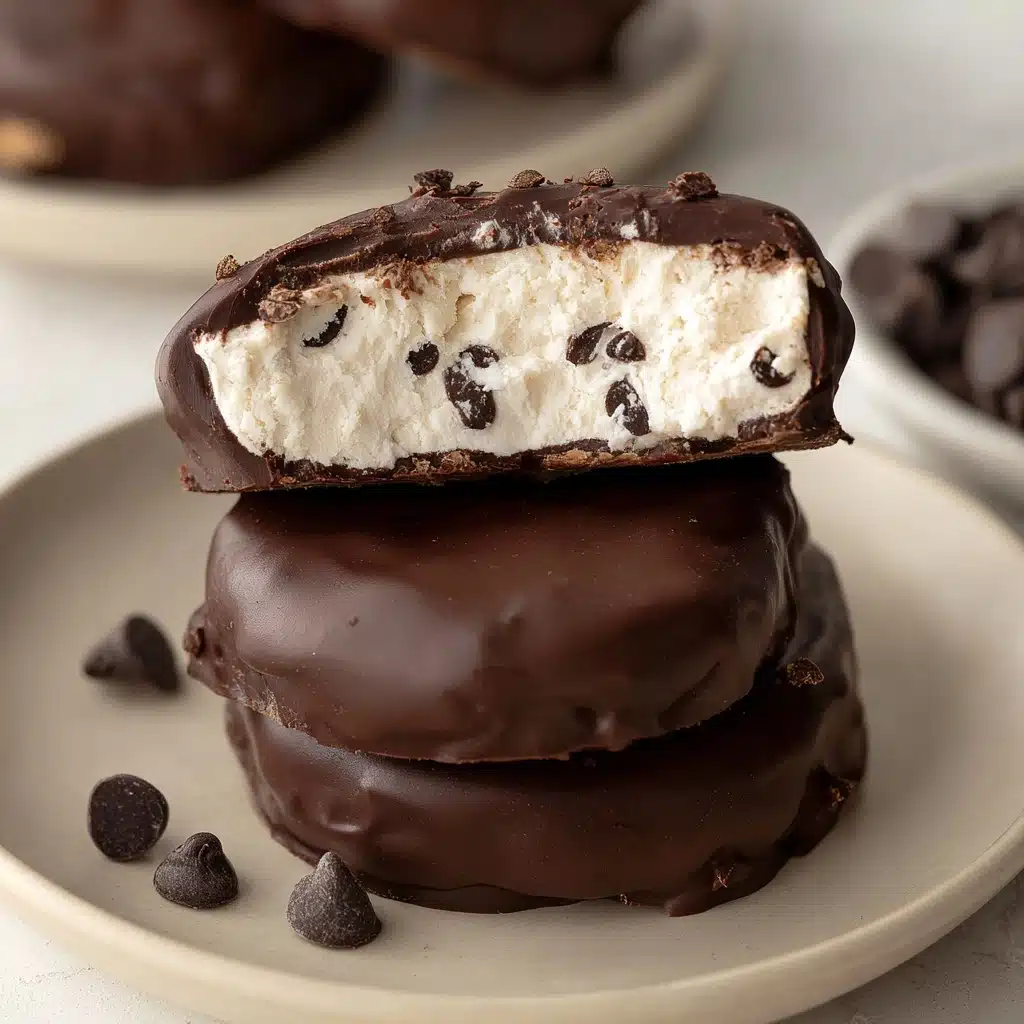
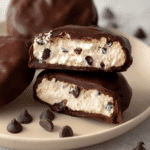
Cookie Dough Frozen Yogurt Bites Recipe
If you’re craving a sweet, refreshing treat that feels indulgent but still nourishing, these Cookie Dough Frozen Yogurt Bites are going to become your new favorite snack. Imagine creamy, tangy yogurt mixed with gooey pockets of cookie dough flavor, all wrapped in a rich chocolate shell that snaps delightfully with every bite. They’re perfect for cooling off on a warm day or for a guilt-free dessert that feels as fun as it tastes. Plus, these little frozen gems are surprisingly easy to make, allowing you to enjoy a homemade frozen dessert that’s both playful and wholesome.
Ingredients You’ll Need
The magic of these Cookie Dough Frozen Yogurt Bites comes down to a few simple yet flavorful ingredients. Each one plays a key role in delivering the creamy texture, sweet hints, and chocolatey finish that make these treats irresistible. Getting the balance just right is the secret to their perfect taste and delightful bite.
- Non-dairy yogurt (plain and unsweetened): This provides the creamy base while keeping the flavor clean and tangy, letting the other ingredients shine.
- Protein powder (optional): Adds a boost of protein to turn this treat into a slightly more nourishing snack – great if you want a bit more sustenance.
- Cashew butter or any nut/seed butter: Brings a creamy richness and a hint of nuttiness that pairs wonderfully with the sweet yogurt.
- Vanilla extract: Enhances all the flavors with a warm, comforting note that’s essential in cookie dough-inspired desserts.
- Maple syrup or honey: Sweetens naturally, adding depth beyond plain sugar and pairing beautifully with the vanilla and nut butter.
- Mini chocolate chips: These sneak little bursts of chocolate in the frozen yogurt itself, mimicking cookie dough bits.
- Chocolate chips: For coating, they create that shiny, crisp layer that gives these bites their signature snap.
- Coconut oil: Helps melt the chocolate smoothly and ensures it hardens with a perfect shine and texture.
How to Make Cookie Dough Frozen Yogurt Bites
Step 1: Mix the Frozen Yogurt Base
Start by combining all your frozen yogurt ingredients in a small bowl—non-dairy yogurt, protein powder if using, cashew butter, vanilla extract, and your sweetener. Stir everything together until silky smooth and fully blended. Next, fold in those delightful mini chocolate chips, which add that classic cookie dough feel inside the creamy base.
Step 2: Scoop and Freeze the Yogurt
Line a baking sheet with parchment paper to make cleanup easy. Using a medium-large cookie scoop or tablespoon, drop dollops of your yogurt mixture onto the tray. Aim to space them evenly so they don’t stick together. Pop the tray into the freezer for at least one hour until the bites are firm and ready for their chocolate coating.
Step 3: Prepare the Chocolate Coating
While your yogurt bites firm up, melt together the chocolate chips and coconut oil in either a microwave-safe bowl or a double boiler. Stir continuously until your chocolate is velvety smooth and perfectly glossy—this is the magic layer that will encase your frozen treats.
Step 4: Dip and Freeze Again
Once the yogurt bites are frozen solid, quickly dip each one into the melted chocolate, fully coating it to seal in all the creamy goodness. Return each coated bite to your parchment-lined baking sheet and place the whole tray back in the freezer. Let them chill for at least 30 minutes so the chocolate hardens beautifully into that satisfying shell.
How to Serve Cookie Dough Frozen Yogurt Bites
Garnishes
Feel free to jazz up your Cookie Dough Frozen Yogurt Bites with a sprinkle of chopped nuts, shredded coconut, or a dusting of sea salt right after dipping them in chocolate. These little touches add texture and an extra flavor pop that makes the bites even more exciting to eat.
Side Dishes
These frozen yogurt bites can shine on their own or pair delightfully with fresh fruit salad, a drizzle of berry coulis, or even alongside a scoop of your favorite sorbet, creating a colorful and refreshing dessert platter perfect for sharing.
Creative Ways to Present
Serve these bites in small paper cups or on a pretty platter adorned with edible flowers and fresh mint for an elegant look. You could also thread them onto decorative skewers for a fun, easy-to-eat party treat that kids and adults will adore alike.
Make Ahead and Storage
Storing Leftovers
If you have any leftover Cookie Dough Frozen Yogurt Bites, store them in an airtight container in the freezer to keep their texture and flavor intact. They’ll stay fresh and ready for weeks, making them an excellent make-ahead snack.
Freezing
Freezing is the best way to keep these bites at their optimal freshness. Since they’re meant to be enjoyed frozen, simply stack them in layers separated by parchment paper inside a freezer-safe box to avoid sticking.
Reheating
These treats are best enjoyed straight from the freezer! If you prefer them a little softer, just let them sit at room temperature for a few minutes before indulging—no microwaving needed, which can ruin the texture.
FAQs
Can I use regular yogurt instead of non-dairy yogurt?
Absolutely! Feel free to use any yogurt you prefer, whether dairy or non-dairy. Just keep in mind that the flavor and texture might vary slightly depending on the yogurt’s creaminess and tang.
Is there a way to make the recipe vegan?
Yes, simply ensure your yogurt, sweetener (like maple syrup), and chocolate chips are vegan-friendly. Most coconut or cashew-based yogurts and dairy-free chocolate chips work perfectly here.
Can I skip the protein powder?
Definitely. The protein powder is totally optional and mainly adds a bit of nutritional boost. Leaving it out won’t affect the flavor but might slightly change the texture.
What’s the best way to melt chocolate without burning it?
Using a double boiler is the gentlest method, but if you use a microwave, melt in short bursts of 15–20 seconds, stirring in between to prevent scorching.
Can I double the recipe for a larger batch?
Yes! This recipe scales very well. Just be sure to have enough freezer space and work in batches when dipping the bites in chocolate to keep everything smooth and manageable.
Final Thoughts
These Cookie Dough Frozen Yogurt Bites offer a perfect blend of creamy, sweet, and chocolatey all wrapped into one easy, fun bite-sized treat. Whether you’re looking for a healthier dessert or a refreshing snack to beat the heat, these frozen gems will quickly become a crowd pleaser. Give them a try and watch everyone’s eyes light up with delight—you’ve now got a new favorite frozen indulgence to share and enjoy!
PrintCookie Dough Frozen Yogurt Bites Recipe
These Cookie Dough Frozen Yogurt Bites are a delightful and healthy treat that combine creamy non-dairy yogurt with the irresistible taste of cookie dough and a rich chocolate coating. Perfect as a refreshing snack or dessert, they are easy to make, gluten-free, and can be customized with your favorite nut butter and sweetener for a guilt-free indulgence.
- Prep Time: 10 minutes
- Cook Time: 10 minutes (melting chocolate)
- Total Time: 1 hour 40 minutes
- Yield: 20–24 bites 1x
- Category: Snack, Dessert
- Method: Freezing, Dipping
- Cuisine: American
- Diet: Gluten Free
Ingredients
Frozen Yogurt Mixture
- 1 cup non-dairy yogurt, plain and unsweetened
- 2 tablespoons protein powder (optional)
- 1/4 cup cashew butter or any nut/seed butter
- 1 teaspoon vanilla extract
- 2 tablespoons maple syrup or honey
- 1/4 cup mini chocolate chips
Chocolate Coating
- 1 1/2 cups chocolate chips
- 2 tablespoons coconut oil
Instructions
- Prepare Frozen Yogurt Mixture: In a small bowl, combine the non-dairy yogurt, protein powder (if using), cashew butter, vanilla extract, and maple syrup or honey. Stir thoroughly until the mixture is smooth and well blended. Then fold in the mini chocolate chips carefully.
- Scoop the Bites: Line a baking sheet with parchment paper. Using a medium-large cookie scoop or spoon, portion out dollops of the frozen yogurt mixture onto the baking sheet, spacing them slightly apart to prevent sticking during freezing.
- Freeze Until Solid: Place the baking sheet in the freezer and chill the yogurt bites for at least 1 hour, or until they are completely solid and firm to the touch.
- Melt Chocolate Coating: In a microwave-safe bowl or over a double boiler, melt the chocolate chips together with the coconut oil until the mixture is smooth and glossy. Stir frequently to ensure even melting and to avoid burning.
- Dip Bites in Chocolate: Retrieve the frozen yogurt bites from the freezer. Individually dip each bite into the melted chocolate, fully coating it. Use a fork or spoon to lift them out and let any excess chocolate drip off, then place the coated bites back onto the parchment-lined baking sheet.
- Final Freeze: Return the chocolate-coated yogurt bites to the freezer and chill for at least 30 minutes, or until the chocolate hardens firmly. Store them in the freezer until ready to enjoy.
Notes
- Use any nut or seed butter you prefer if cashew butter is unavailable.
- Maple syrup and honey are interchangeable as natural sweeteners; use vegan honey alternatives for a vegan diet.
- For a dairy-free option, ensure the chocolate chips are dairy-free.
- Protein powder is optional and can be omitted or substituted with collagen or left out entirely.
- Store the frozen yogurt bites in an airtight container in the freezer for up to 2 weeks.
- Let bite thaw slightly at room temperature for 5 minutes before eating for best texture.
Nutrition
- Serving Size: 2 bites (about 40 grams)
- Calories: 150
- Sugar: 8g
- Sodium: 30mg
- Fat: 9g
- Saturated Fat: 5g
- Unsaturated Fat: 3g
- Trans Fat: 0g
- Carbohydrates: 15g
- Fiber: 2g
- Protein: 4g
- Cholesterol: 0mg
Keywords: cookie dough, frozen yogurt bites, healthy dessert, dairy-free, gluten-free, chocolate coating, snack, no-bake