Cream Pie Cookies with Chocolate Glaze and Whipped Cream Filling Recipe
Introduction
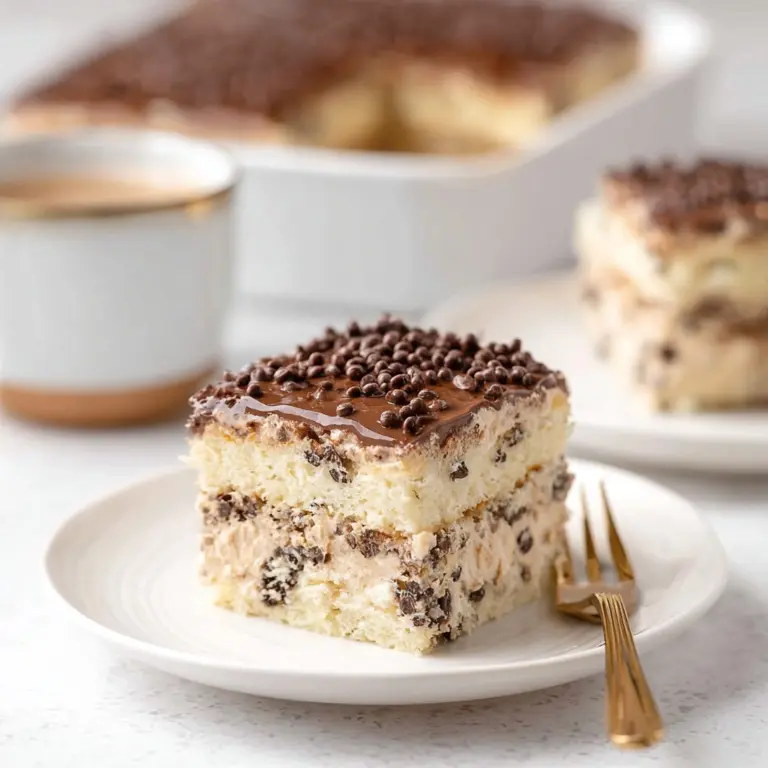
Cream Pie Cookies are delightful sandwich treats featuring soft, buttery cookies filled with a fluffy whipped cream filling and finished with a glossy chocolate glaze. They make a stunning dessert perfect for any occasion.

Ingredients
- 1 cup unsalted butter, softened
- 1 cup granulated sugar
- 2 large eggs
- 1 teaspoon vanilla extract
- 2 cups all-purpose flour
- 1 teaspoon baking powder
- 1/2 teaspoon baking soda
- 1/4 teaspoon salt
- 1 cup heavy cream
- 1/2 cup powdered sugar
- 1 teaspoon vanilla extract (for the cream filling)
- 1 cup semi-sweet chocolate chips
- 1 tablespoon vegetable oil
Instructions
- Step 1: In a large mixing bowl, cream together the softened butter and granulated sugar using an electric mixer on medium speed. Beat until the mixture is light and fluffy, about 3-4 minutes.
- Step 2: Add the eggs, one at a time, mixing well after each addition. Stir in the vanilla extract until fully combined.
- Step 3: In a separate bowl, whisk together the all-purpose flour, baking powder, baking soda, and salt. Gradually add this dry mixture to the wet ingredients, mixing on low speed until just combined. Avoid overmixing.
- Step 4: Cover the bowl with plastic wrap and refrigerate for at least 30 minutes.
- Step 5: In a medium bowl, pour the heavy cream and add the powdered sugar and vanilla extract. Using a hand mixer, whip the cream until stiff peaks form, about 3-5 minutes. Avoid overwhipping.
- Step 6: Set the cream filling aside in the refrigerator to keep it cool and firm.
- Step 7: Preheat your oven to 350°F (175°C) and line two baking sheets with parchment paper.
- Step 8: Use a cookie scoop or tablespoon to drop rounded balls of dough onto the prepared baking sheets, spacing them about 2 inches apart.
- Step 9: Bake for 10-12 minutes, or until the edges are lightly golden. The centers may look slightly underbaked.
- Step 10: Allow the cookies to cool on the baking sheets for about 5 minutes before transferring them to a wire rack to cool completely.
- Step 11: In a microwave-safe bowl, combine the semi-sweet chocolate chips and vegetable oil. Microwave in 30-second intervals, stirring in between, until melted and smooth, about 1-2 minutes total.
- Step 12: Let the chocolate cool slightly before glazing the cookies.
- Step 13: Take one cookie and place a generous dollop of the whipped cream filling on the flat side.
- Step 14: Top with another cookie, flat side down, to create a sandwich. Gently press down to spread the filling to the edges.
- Step 15: Repeat with the remaining cookies and cream filling until all are assembled.
- Step 16: Drizzle or dip the assembled cookies in the melted chocolate glaze, allowing any excess to drip off.
- Step 17: Place the glazed cookies on a wire rack to set.
Tips & Variations
- For a richer flavor, use high-quality vanilla extract or add a teaspoon of espresso powder to the chocolate glaze.
- If you prefer, substitute semi-sweet chocolate chips with white or dark chocolate for a different taste.
- Chill the dough longer if it’s too soft to handle easily.
- Use stabilized whipped cream with a bit of gelatin if you want the filling to hold up longer in warm conditions.
Storage
Store the assembled cookies in an airtight container in the refrigerator for up to 3 days to keep the cream filling fresh. Allow them to come to room temperature for about 10 minutes before serving. Avoid freezing as the whipped cream may lose its texture.
How to Serve

Serve this delicious recipe with your favorite sides.
FAQs
Can I make the cookies ahead of time?
Yes, you can bake the cookies in advance and store them in an airtight container at room temperature for up to 3 days. It’s best to assemble them with the cream filling and chocolate glaze shortly before serving for the freshest taste.
What can I use instead of heavy cream for the filling?
Heavy cream is best for whipped fillings due to its fat content. If you need a substitute, you can try coconut cream (chilled and whipped) for a dairy-free option, but the flavor and texture will differ.
PrintCream Pie Cookies with Chocolate Glaze and Whipped Cream Filling Recipe

Delight in these homemade Cream Pie Cookies featuring a soft, buttery cookie sandwich filled with fluffy whipped cream and finished with a rich semi-sweet chocolate glaze. Perfectly balanced textures and flavors make these treats irresistible for any occasion.
- Prep Time: 20 minutes
- Cook Time: 12 minutes
- Total Time: 1 hour 5 minutes
- Yield: 24 cookies (12 sandwich cookies) 1x
- Category: Dessert
- Method: Baking
- Cuisine: American
Ingredients
Cookies
- 1 cup unsalted butter, softened
- 1 cup granulated sugar
- 2 large eggs
- 1 teaspoon vanilla extract
- 2 cups all-purpose flour
- 1 teaspoon baking powder
- 1/2 teaspoon baking soda
- 1/4 teaspoon salt
Cream Filling
- 1 cup heavy cream
- 1/2 cup powdered sugar
- 1 teaspoon vanilla extract
Chocolate Glaze
- 1 cup semi-sweet chocolate chips
- 1 tablespoon vegetable oil
Instructions
- Cream the Butter and Sugar: In a large mixing bowl, use an electric mixer on medium speed to cream the softened butter and granulated sugar together until the mixture becomes light and fluffy, which usually takes about 3-4 minutes.
- Add Eggs and Vanilla: Beat in the eggs one at a time, ensuring each egg is fully incorporated before adding the next. Stir in the vanilla extract until combined.
- Mix Dry Ingredients: In a separate bowl, whisk together the all-purpose flour, baking powder, baking soda, and salt. Gradually add this dry mix into the wet ingredients on low speed, mixing just until combined to avoid over-mixing the dough.
- Chill the Dough: Cover the bowl with plastic wrap and refrigerate the dough for at least 30 minutes to firm it up and enhance the texture.
- Prepare Whipped Cream Filling: In a medium bowl, combine the heavy cream, powdered sugar, and vanilla extract. Using a hand mixer, whip the cream until stiff peaks form, about 3-5 minutes. Be careful not to overwhip. Place in the refrigerator until ready to use.
- Preheat Oven and Prepare Baking Sheets: Set the oven to 350°F (175°C) and line two baking sheets with parchment paper for baking.
- Scoop and Bake Cookies: Using a cookie scoop or tablespoon, drop rounded balls of the chilled dough onto the prepared baking sheets spaced about 2 inches apart. Bake for 10-12 minutes until edges are lightly golden; centers may appear slightly underbaked.
- Cool Cookies: Let the cookies cool on the baking sheets for about 5 minutes before transferring them to wire racks to cool completely.
- Melt Chocolate Glaze: Combine the semi-sweet chocolate chips and vegetable oil in a microwave-safe bowl. Microwave in 30-second intervals, stirring after each, until the mixture is melted and smooth, about 1-2 minutes total. Let the glaze cool slightly.
- Assemble Cookies: Take one cookie and place a generous dollop of whipped cream on the flat side. Top with a second cookie, flat side down, gently pressing to spread the filling evenly.
- Apply Chocolate Glaze: Drizzle or dip the assembled cookie sandwiches into the melted chocolate glaze, allowing excess to drip off.
- Set and Serve: Place the glazed cookies on a wire rack to allow the chocolate glaze to set before serving.
Notes
- Chilling the dough helps prevent spreading and leads to a chewier texture.
- Ensure the whipped cream reaches stiff peaks but avoid overwhipping to prevent it from turning into butter.
- Use fresh eggs and high-quality vanilla for the best flavor.
- Allow chocolate glaze to cool to avoid melting the whipped cream filling when applying.
- Store assembled cookies in the refrigerator and consume within 2 days for optimal freshness.
Keywords: cream pie cookies, chocolate cream cookies, sandwich cookies, whipped cream filling, baked cookies, chocolate glazed cookies